AI-Assisted Framework Development for Oxygen Web Author
Customizing Oxygen XML Web Author through a framework is powerful: you can reshape the user interface, define document templates, extend DITA, or add entirely new functionality.
We asked: What if an AI assistant could understand the Web
Author documentation, generate framework customizations, and verify that they
actually work?
.
To find out, we built a collection of AI Skills that combine the official
documentation, practical examples, and an automated development workflow. Given a
plain-language request such as create a document template for this use case
,
add a custom toolbar action
, change the editor styling
, or create a
DITA extension
, the assistant can:
- Answer questions using the official documentation.
- Recommend the appropriate extension points for the customization.
- Generate the framework code and configuration.
- Launch Web Author in a browser and test the customization using Chrome (with no human interaction).
- Fix issues and iterate until the implementation works.
What makes this possible is that the documentation was already prepared for AI integration. Starting with Oxygen XML WebHelp 28, the same DITA source can be published in an AI-friendly format: an llms.txt index alongside Markdown versions of every topic. That single output serves human readers and AI assistants alike, so the skills draw on the exact same documentation we ship to everyone else, with no separate set to maintain.
In the rest of this article, we'll look at how these AI Skills are put together, then walk through several framework customizations: a document template, a custom toolbar action, an editor styling change, and a DITA extension (that were created entirely through natural language prompts).
How to try out the skills?
The project is publicly available at https://github.com/oxygenxml-incubator/web-author-framework-dev-AI-skills. All you need to start is an unpacked Web Author kit, a valid license, and an administrator user; from there you describe the change in plain English and the agent generates a declarative .exf extension under user-frameworks/, restarts Web Author, and confirms the change loaded.
The installation is simple:
- Install Claude Code (see https://code.claude.com/docs/en/overview).
- Download or duplicate a Web Author All Platforms kit (the one with
start-oXygen-XML-Web-Author.shscript at its root). - Open a terminal at the kit root.
- Install the skills at the root of the kit using this command:
npx skills add oxygenxml-incubator/web-author-framework-dev-AI-skills -a claude-code -y -
Type
claudein the terminal and pressenter. Claude will boot up with the newly added skills. - Type
/skillsin order to verify the skills have loaded:
For the full setup instructions view the README file on GitHub.
A simple example: FAQ template
A framework can ship ready-made starting points for new documents. We wanted a template for FAQ (Frequently Asked Questions) entries that the team could fill in.
Prompt: Create a new-document template for an FAQ entry: a question, a one-line answer,
a details section, and numbered steps.
From there the assistant chose the DITA task topic as the base, since its built-in structure already matches a how-to FAQ. It generated the template file and registered it so it appears in Web Author's New Document dialog, wrote a matching CSS style-sheet for the question-and-answer presentation, and saved a populated sample. It then opened both in the browser to confirm the template starts clean and the sample renders as intended.
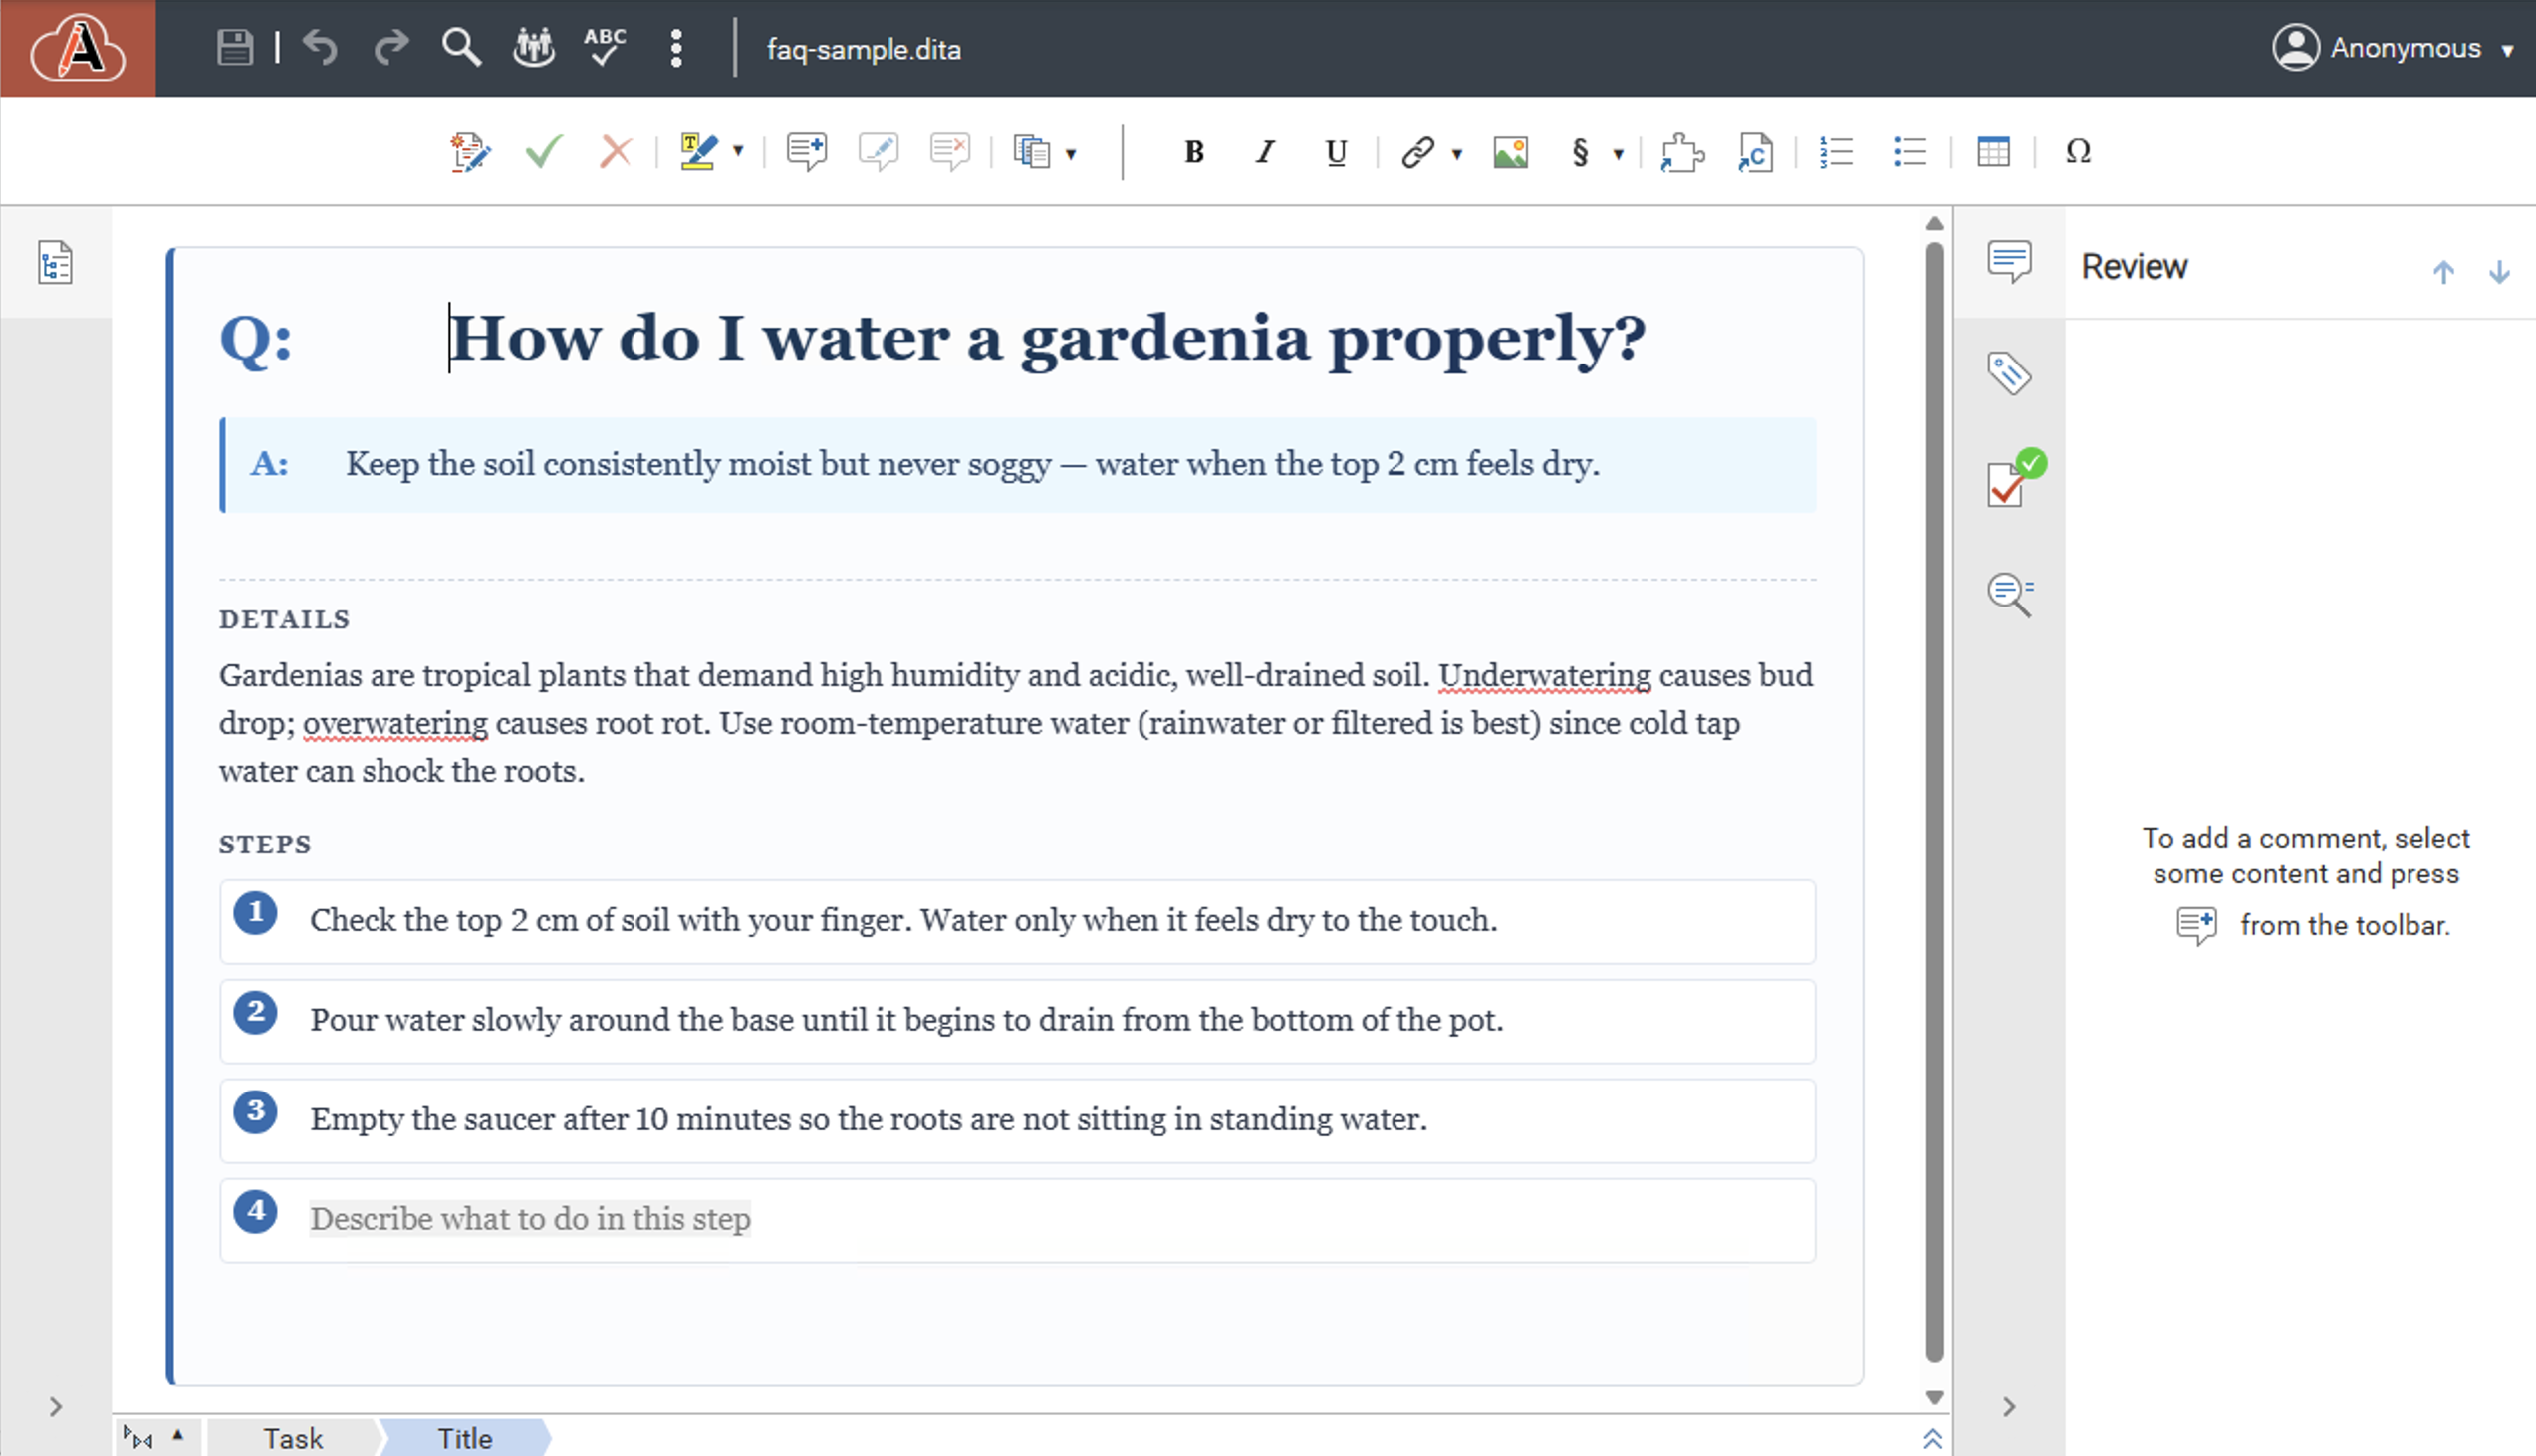
The template gives an author a structure to complete rather than a blank page:
- The topic title carries a
Q:prefix, so the question reads as a question. - The short answer sits in an
A:callout directly beneath the title. - A Details section holds the background and context for the answer.
The first iteration had a problem with the positioning of the circle number for each step
but the assistant was able to take a screenshot, locate the problem and fix it: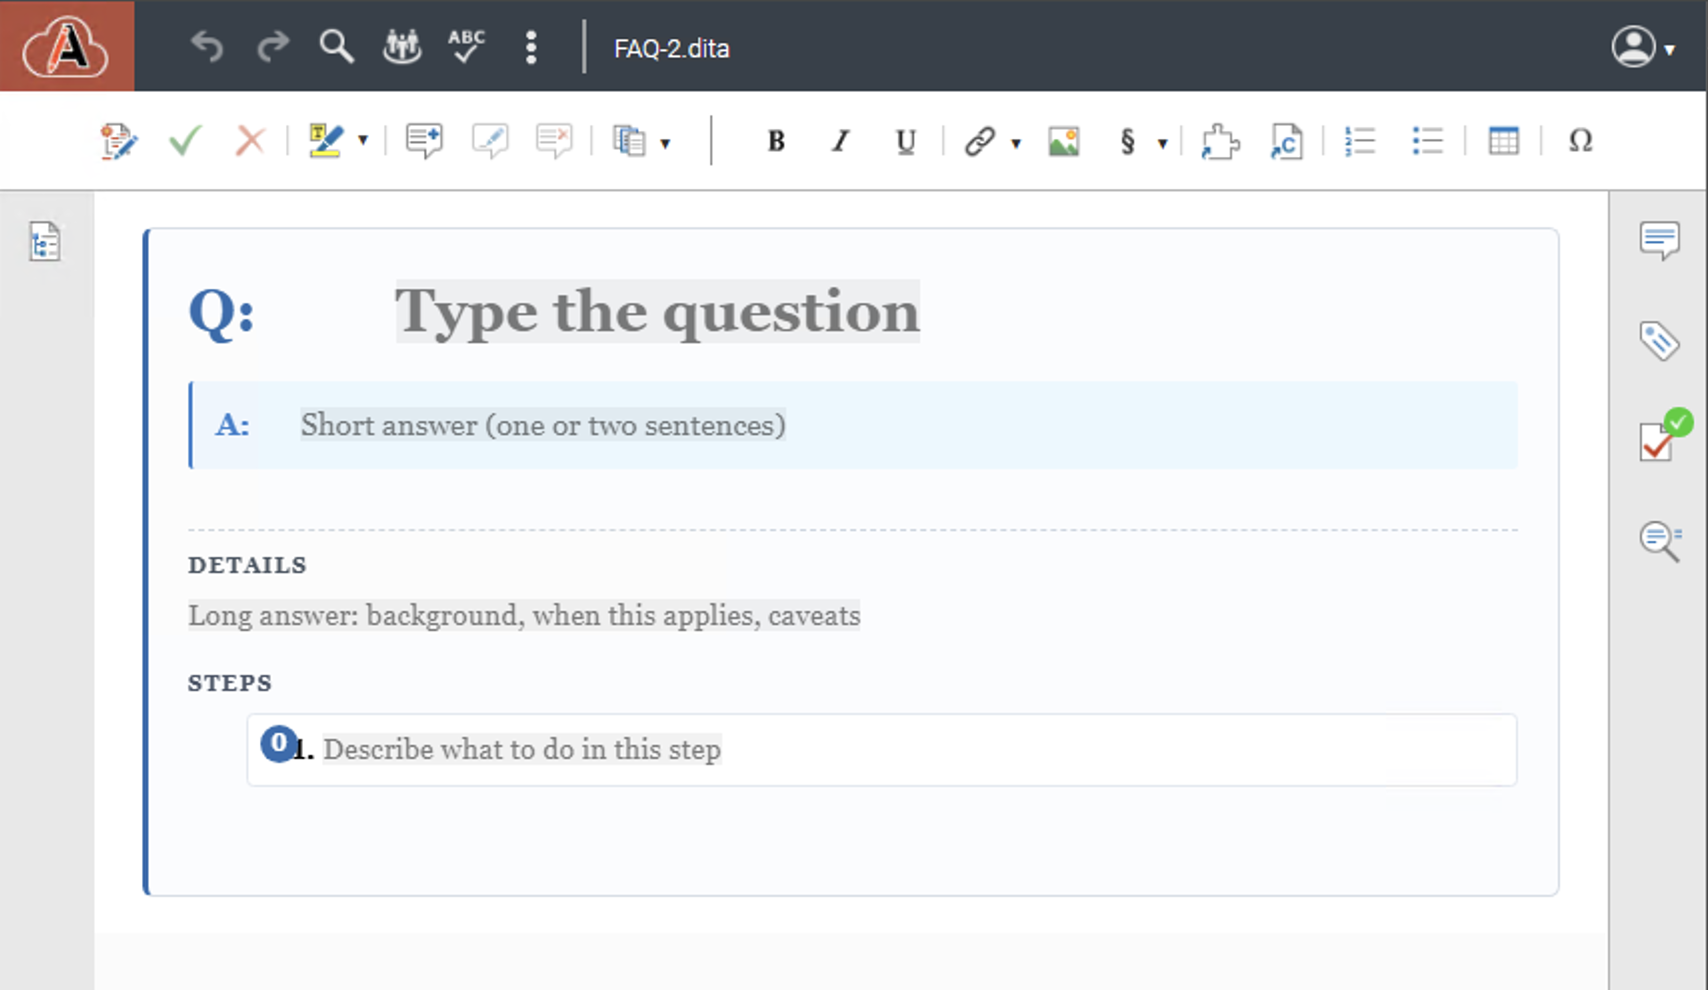
Notice that each empty block has a placeholder that helps the writer fill in the content and maintain the style.
A complete example: A SOP framework
The FAQ template is a deliberately small example. To show what the skills can do end to end, we asked for a full framework for internal Standard Operating Procedures (SOPs) - one that touches every customization type from the introduction: a new-document template, an editor styling change, custom form controls, a toolbar action, and a DITA validation rule with a quick fix.
Everything below was produced from plain-language prompts and verified by the agent in a live browser before it reported back.
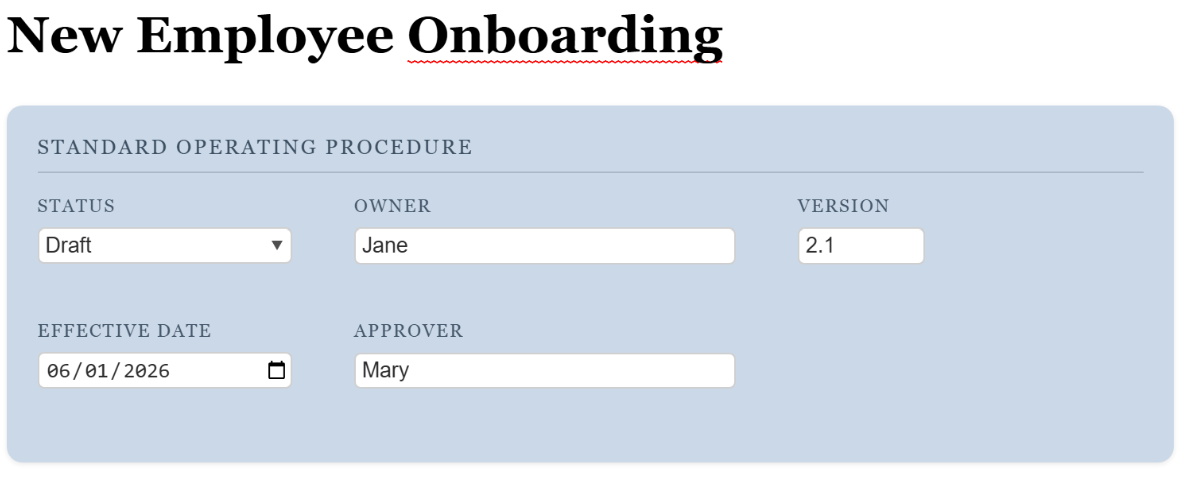
This is how a document using the framework looks like: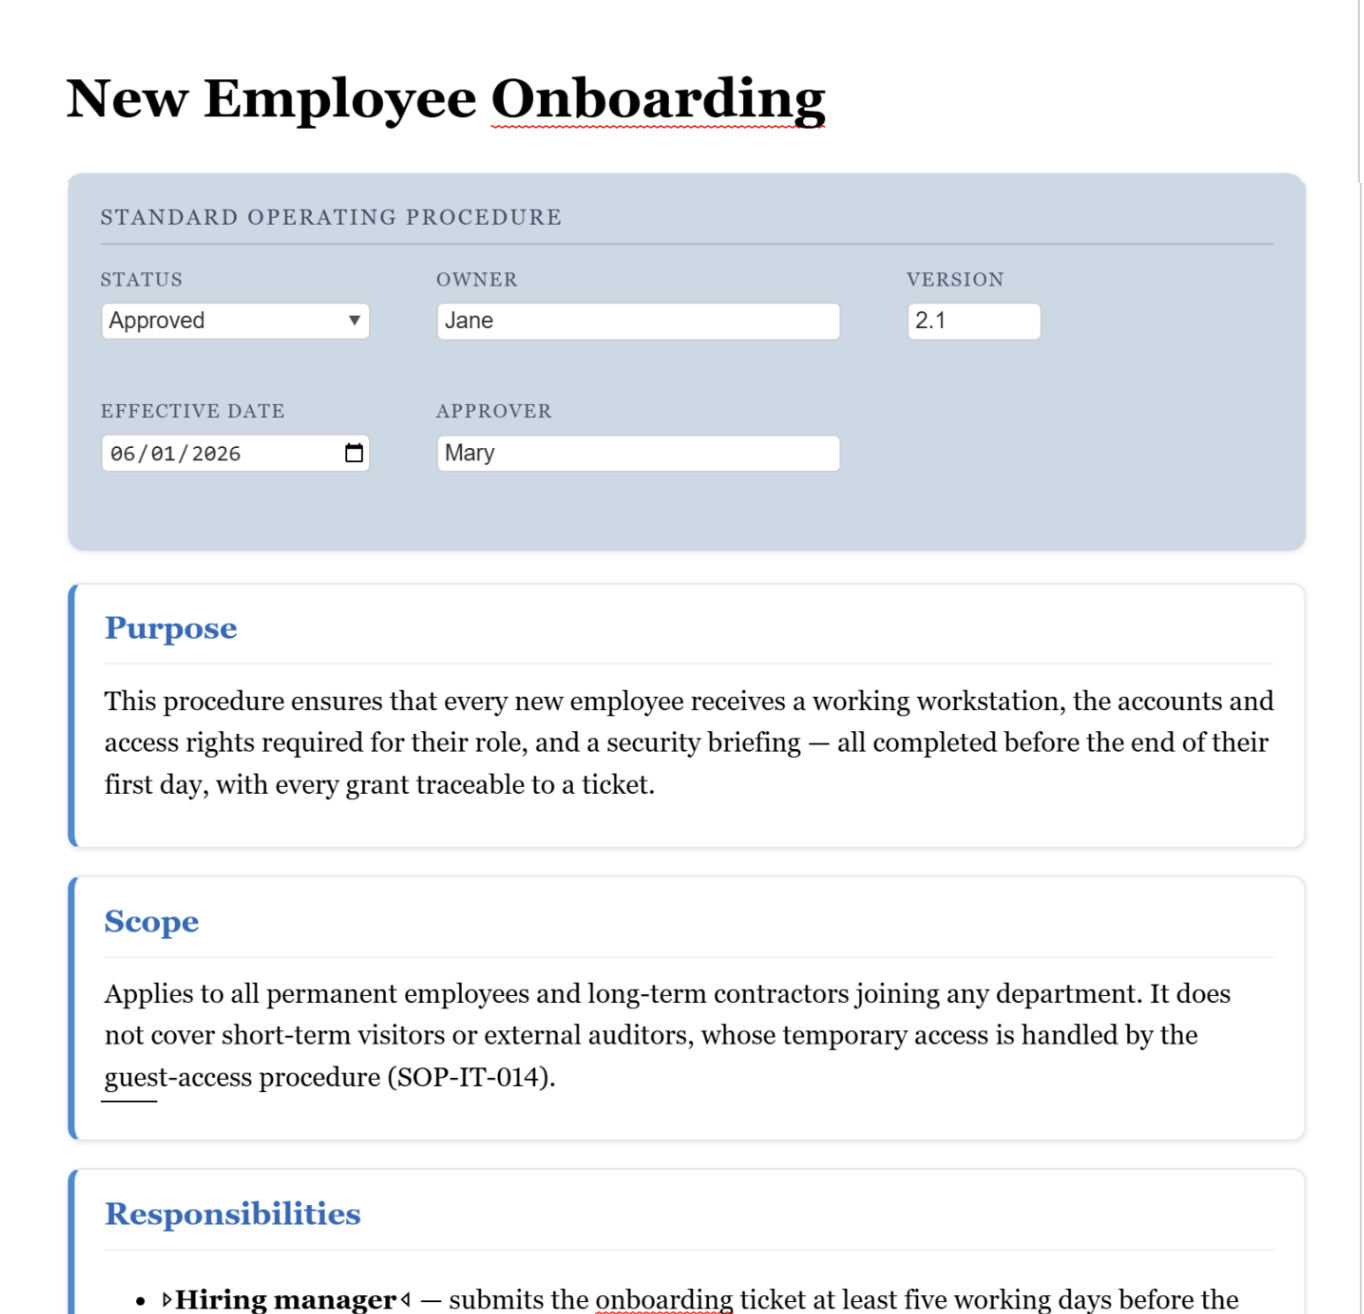
Step 1: The "New SOP" template
Prompt: Add a "New SOP" template. It should have a header table (Owner, Version, Effective
date, Approver), sections for Purpose / Scope / Responsibilities / Procedure, and one
step. Use an editor variable to autocomplete the date
.
The agent asked a few questions about the template (such as the document type to use):
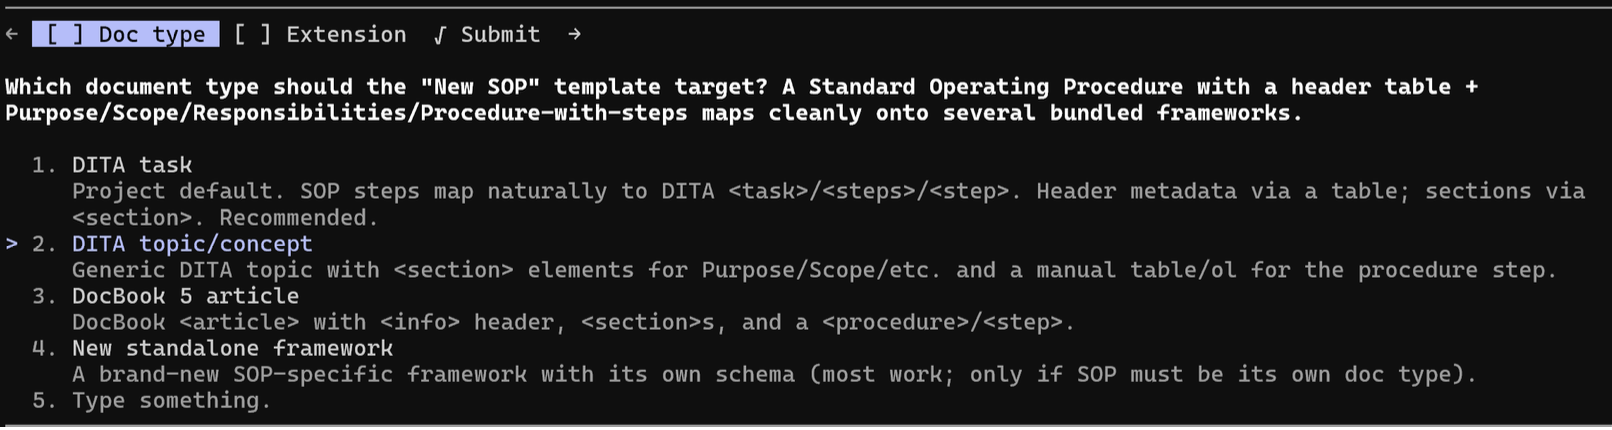
Than, the agent created an extension under user-frameworks/sop-templates/
with the header table, the four sections, one starter step, and ${date}
seeded into the effective-date cell. After restarting the kit and checking
oxygen.log, it used Chrome to confirm New SOP
appeared in the wizard.
Result: New File > SOP > New SOP produces a valid DITA topic with today's date already filled in.

Step 2: The CSS styling
Prompt: Make that header table render as a nice banner instead of raw table markup. Also
style the sections as cards.
The agent routed to the framework-style-changes skill and added
outputclass="sop" to the template's root topic so every rule
could be scoped to SOP documents and leave ordinary DITA topics untouched, then wrote
css/sop.css and wired it into the same .exf
file.
The first banner color came out too loud, so a follow-up prompt asked for a quieter tone and the agent applied a muted steel-blue.

Step 3: Header with form controls
Prompt: Make the header editable with form controls: status as a dropdown
(Draft/Approved/Retired), Owner and Approver as text fields.
The agent restructured the header from a simple table into a wrapper holding five fields.
Before writing any control syntax it looked up real uses of oxy_combobox
and oxy_datePicker, so the form controls were modelled on verified working
CSS. Each field renders with two pseudo-elements: a small uppercase label on top and a
control bound to @value underneath.
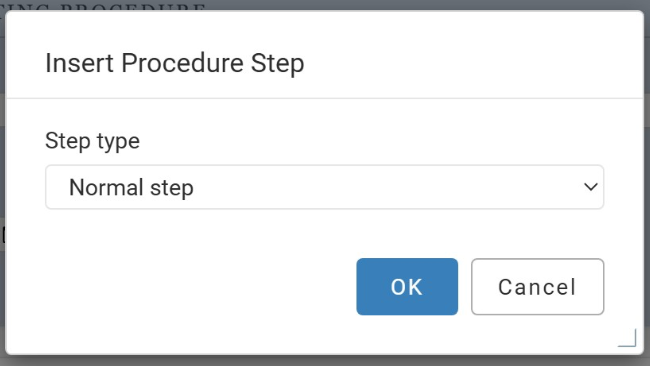
Step 4: The "Insert Procedure Step" toolbar action
The agent loaded the content-completion actions reference, then read a bundled
externalAuthorAction file to copy the two-file pattern and the
InsertFragmentOperation syntax. It generated an action with two
operations - one for when the caret is already inside a list item and one for any other
location - and wired the button into the toolbar through the .exf.
The ${ask} combo box offers four step types (Normal, Caution,
Verification, Optional). The selected key is written into
outputclass on the new list item, so the choice stays queryable and
stylable later.
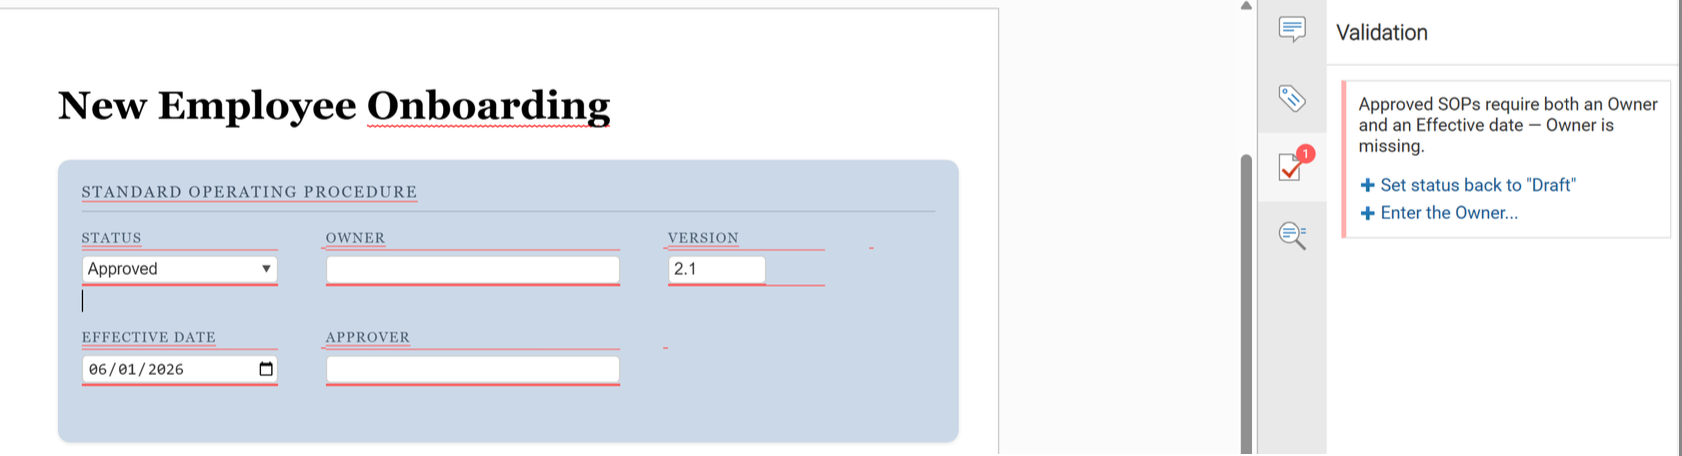
Step 5: Validation rule with a quick fix
Prompt: Add a rule: if status is Approved but Owner or date is empty, show an error with
a one-click fix.
The agent responded:
This is a Schematron + Quick Fix task. Let me load that skill.
• Skill(schematron-quick-fix)
It loaded the schematron-quick-fix skill, then read the operations reference
and a bundled example before writing any sqf:fix. It produced a Schematron
rule with three alternative fixes:
- Revert the status to Draft.
- Fill the date with today.
- Prompt the author for the owner name.
It then generated a .scenarios file that wires both the bundled DITA validation engine and the new Schematron file into a single scenario, and added it to the .exf as the default.
Finally it put the test document into an error state, restarted, and verified end to end: the validation panel showed the dynamic error message and the right fix buttons. Linking one repaired the underlying XML so validation went green.